Photo Editing
First activity
In this lesson we are going to learn some of the tools within GIMP
The tools that we will be using are: selection tools, blur, clone, erase, and using layers
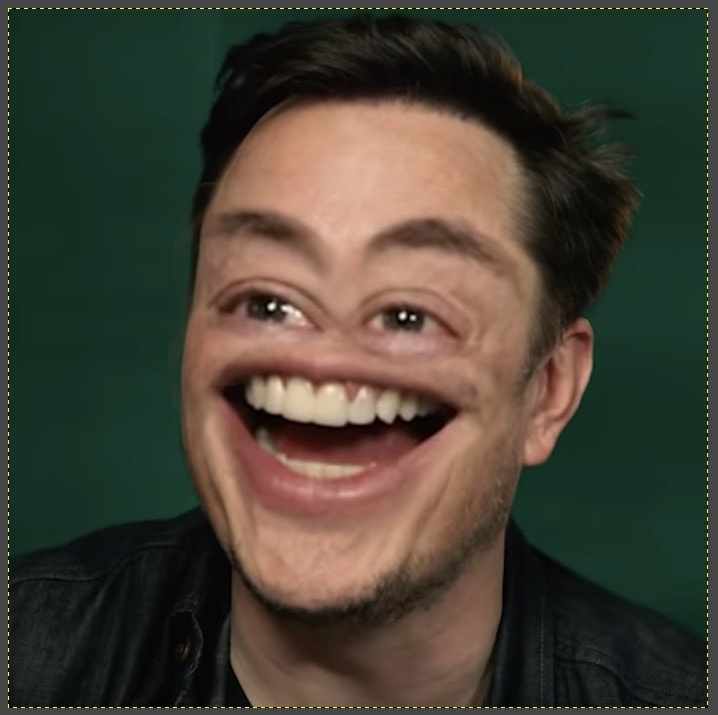
1 – Open GIMP and copy and paste the below picture of Elon Musk into your work area.
The tools that we will be using are: selection tools, blur, clone, erase, and using layers
1 – Open GIMP and copy and paste the below picture of Elon Musk into your work area.

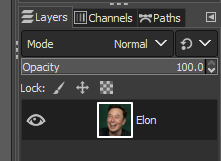
Now, in the menu at the top go “Windows -> Dockable Dialogs -> Layers” to ensure that you have the Layers window open. Double click on the “Background” layer and rename it to Elon.
Next go "Windows -> Dockable Dialogs -> Tool Options," this will he helpful later on
Save your work
Save your work
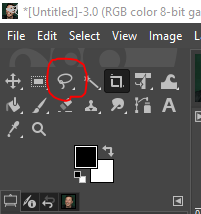
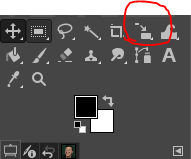
2 – Copying the eyes - Click on the “Free Select Tool” (looks like a lasso) in the menu on the left of your screen
Click and hold this and draw around one of the eyes.
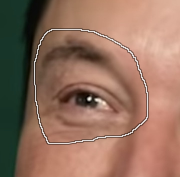
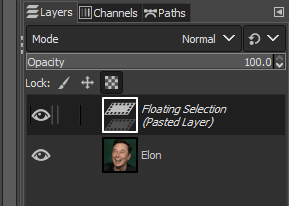
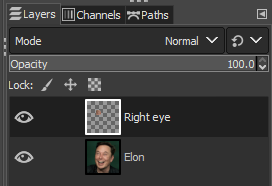
Copy (Ctrl + C) and paste (Ctrl + V) this eye. Once you have pasted you will notice it appears in the “Layers” window. Double click this new layer and call it “Right eye”
|
|
Once you have done this for the right eye, repeat for the left eye and the mouth. Important note: Ensure that you click back to the “Elon” layer, otherwise you will not be selecting what you hope to select.
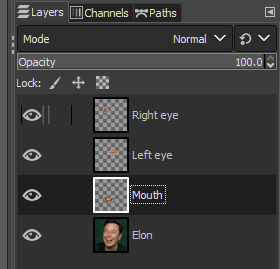
Once you have done this, have a go at clicking the little eye icons to the left of the layers and see what happens.
Turn off all of the little “eyes” to the left of our layers, except for the “Elon” layer, as shown.
Turn off all of the little “eyes” to the left of our layers, except for the “Elon” layer, as shown.

Save your work
3 – Blank the face
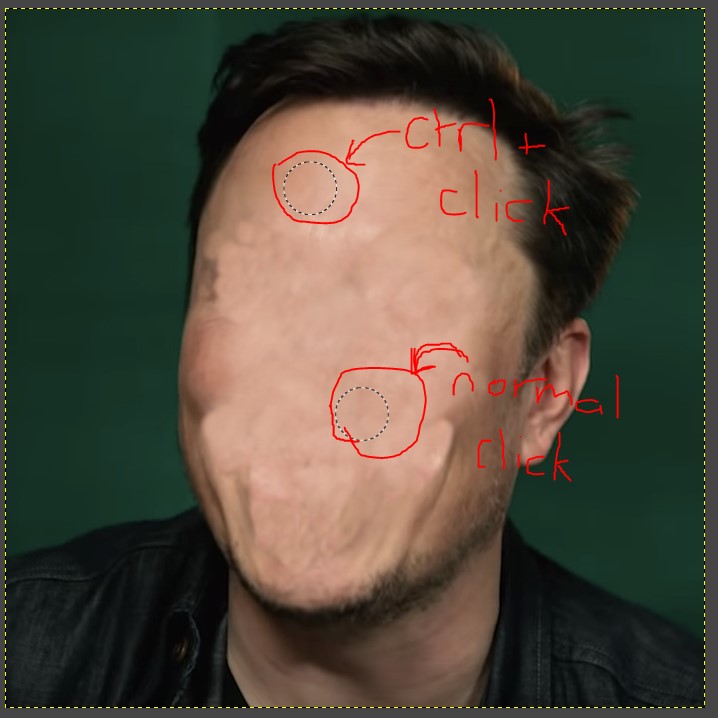
Use the “Clone” tool to cover over the eyes, nose, and mouth on the Elon layer.
3 – Blank the face
Use the “Clone” tool to cover over the eyes, nose, and mouth on the Elon layer.
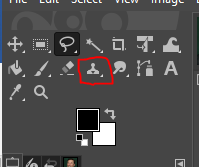
To use the clone tool, hold “Ctrl” and click on a piece of skin that you would like to replicate, then let go of Ctrl and click on the pieces of the picture you would like to cover up. When you click and drag the area that you clicked with Ctrl will shift along as well, so sometimes it is better to make lots of small clicks rather than clicking and dragging.
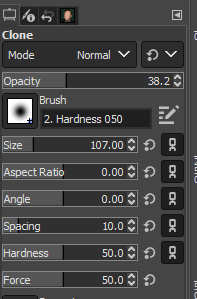
Note: you can change the size (and other properties) in the properties along the left of your screen.
Save your work
4 – Biggify the eyes and mouth
Press “Shift” and “S” together to use the “Scale tool” to make the eyes and mouth bigger. Select the layer that you want to make bigger, then click on corner of the eye/mouth itself and drag to make bigger.
4 – Biggify the eyes and mouth
Press “Shift” and “S” together to use the “Scale tool” to make the eyes and mouth bigger. Select the layer that you want to make bigger, then click on corner of the eye/mouth itself and drag to make bigger.
|

|
Save your work
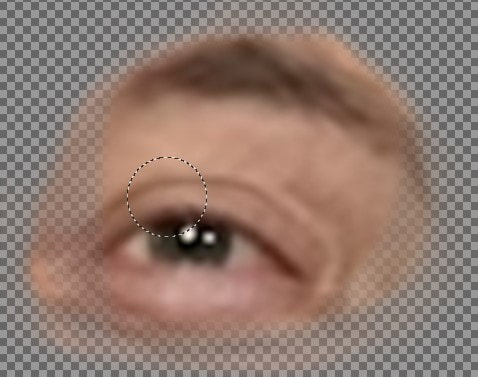
5 – Smooth the edges on the eyes and mouth
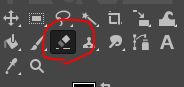
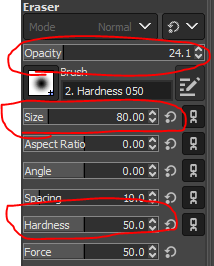
Turn off all layers except the right eye. Using the Eraser tool, choose a soft brush and lower the opacity, hardness, and size of your brush. Then go around the edge of the eye to soften it. This will help the eye to blend with the skin of the face behind. Repeat this for the other eye and the mouth.
5 – Smooth the edges on the eyes and mouth
Turn off all layers except the right eye. Using the Eraser tool, choose a soft brush and lower the opacity, hardness, and size of your brush. Then go around the edge of the eye to soften it. This will help the eye to blend with the skin of the face behind. Repeat this for the other eye and the mouth.
|
|
Save your work
6 – Bring it all together.
Turn on all the layers again. Using what you learnt with the clone tool and the eraser tool, continue to carefully blend the parts together.
Pro tip: when blending it is better to make lots of small changes rather than long dragging clicks, this will let you undo (using Ctrl + Z) more easily when you make a mistake.
Save your work
7 – Have a go with your own face or faces of family/friends (make sure they won’t mind)
7 – Have a go with your own face or faces of family/friends (make sure they won’t mind)
Second activity
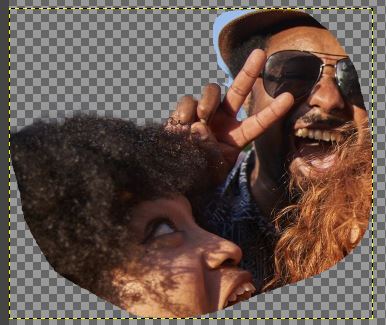
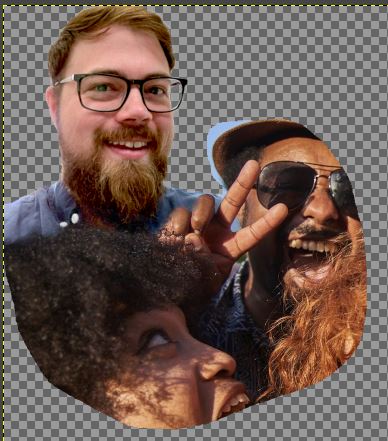
Put yourself into a photo with a group of other people. It doesn't have to be people that you know, just search up for a group of people and put yourself in the background.
See Mr Tyler's example and some helpful hints below.
See Mr Tyler's example and some helpful hints below.

1) Find a group of people to put yourself into
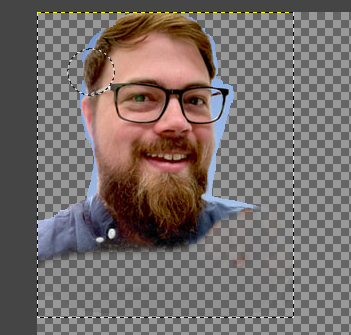
2) Get a picture of yourself (you can use someone else if you prefer)
3) Cut yourself out of your picture and make into a layer (like in last tutorial)
2) Get a picture of yourself (you can use someone else if you prefer)
3) Cut yourself out of your picture and make into a layer (like in last tutorial)
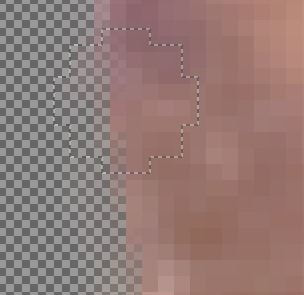
4) Cut out a section of the friends picture and layer it onto the picture of yourself to make it look like you are behind them.
|
|
5) Remember to blur the edges of the pictures that you cut out to make them blend in better together.
Assessment
Your task is to use GIMP to edit yourself and/or your friends into the following three images. You will need to be creative with this, try to use a bit of humour!
You will be marked on:
You can use photos of yourself/your friends, or pictures of famous people if you prefer.
You will be marked on:
- How well you can make it look like the people are actually in the image
- Creativity with the story that you tell within the image
You can use photos of yourself/your friends, or pictures of famous people if you prefer.